
2-way smart lighting guide
Two-way switch lighting simply refers to a lighting circuit, which has more than one switch operating the same lights.
The most common example of this type of switching would be on a staircase, where the user would have a switch at the bottom of the stairs and a switch at the top, both operating the lights over the staircase.
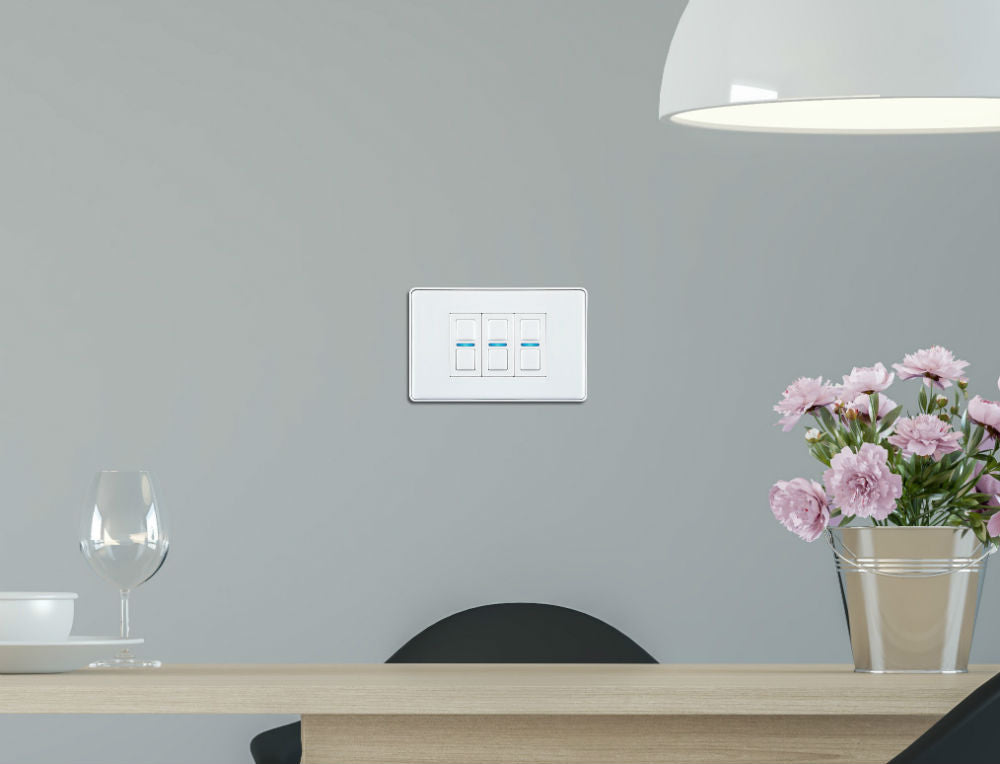
Smart lighting can replace these switches offering the same manual operation as well as voice and app control. In the Smart range, all the Smart dimmers are ‘2-way’ by default, meaning you don’t need to fit any other ‘specialised’ switch.
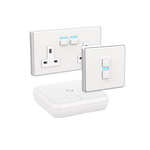
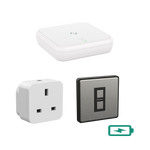
Lightwave Starter Kits
How do I fit a two-way switch?
Two-way wiring can look very complicated at first, however, as long as your lighting is working well on your manual switches, it should be simple to swap to Lightwave’s Smart series.
If you’re not comfortable doing this yourself then please consult a qualified electrician.
Before you start
Shut off the power to the lighting circuit. Unscrew the faceplate of the switch to remove it from the back box. Take photos of the existing wiring at the back of each switch as it can be very useful to refer to at a later stage. Try to capture which terminal goes with each wire.
Two-wire or three-wire system
It is important to understand what system you are working with and it’s not as difficult as it may sound. Look at the back of each switch: you should see wiring terminals labelled ‘L1, L2, and C’. If both switches have no more than one wire fitted in to each terminal then you have a three-wire system. If one of the switches has more than one wire in both the L1 and L2 terminals then you have a two-wire system. Once you have identified your system, please follow the steps in the section below that applies to your set up.
Two-wire system
For both switches, move all wires fitted to the L1 to the L terminal on the Lightwave switch. Move all wires fitted to the L2 to the X terminal on the Lightwave switch. Wires in the C terminal are not required and can be safely terminated or removed altogether.
Three-wire system
At the first switch, move all wires fitted to L1 to the L terminal on the Lightwave switch. Move all wires fitted to L2 to the X terminal on the Lightwave switch. Move all wires fitted to C to the L terminal on the Lightwave switch.
At the second switch move all wires fitted to L1 to the L terminal on the Lightwave switch. Move all wires fitted to L2 to the X terminal on the Lightwave switch. Move all wires fitted to C to the X terminal on the Lightwave switch.
What if I have more than two switches in the circuit?
This is typically known as intermediate switching. It’s largely the same as two-way switching, but there is a specialised switch in the middle and additional wiring. You can spot this switch by looking at the back of it - it will have two sets of L1 and L2 terminals.
To add a Lightwave dimmer to this set up, you still need to follow all the steps above, but when you come to this particular switch, you need to move one set of L1 and L2 wires to the L terminal on the Lightwave switch and then move the other L1 and L2 wires to the X terminal on the Lightwave switch.
Finally, you need to create an ‘automation’ in the app to group these devices together so when one Lightwave dimmer is switched the other will too. To do this, you will need to open the app (let’s assume you have already registered your Link Plus and added your devices), click the ‘+’ symbol, select ‘Automation’, and choose ‘Two-Way Switching’. From here the app will take you through the set up steps.
Do you have further questions? Visit our support centre.
Need help? Lightwave provides a complimentary home consultation service.
More Answers to Frequently Asked Smart Lighting Questions
Where to Start: Designing the Smart Home of Your Dreams
When designing your dream home, smart technology is often viewed as aspirational but not always a priority. At Lightwave, we believe that a smart home is something that should augment...
10 Ideas to Step Up Your Smart Home Automations
So, you have basic automations set up and you're ready for the next level. We've compiled our Top 10 ideas for advanced automations and routines to help elevate your experience...
Connecting Your Lightwave Smart Home
Connecting your Lightwave System to your smart speakers is one of the most important parts of setting up your smart home - especially if you want to control your home...